In the latest version of Free Snipping Tool, now you can make custom size snips. There are four ways to take custom size snips as you can see in the screenshot below.
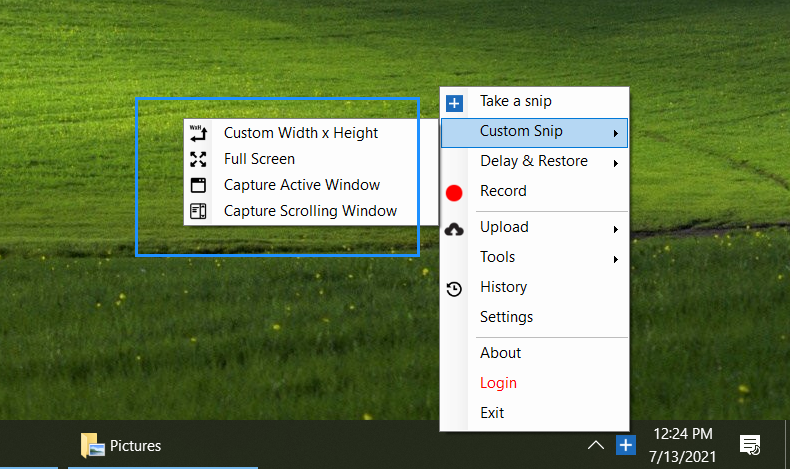
1- Custom Width x Height
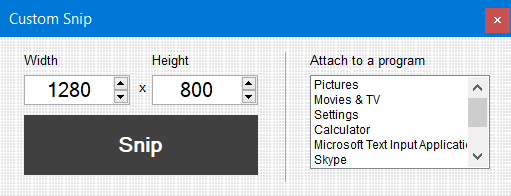
When you click the Custom Width x Height option, it will open another window where you can mention the custom Width and Height of the snip or select running processes to take their screenshots/snips.
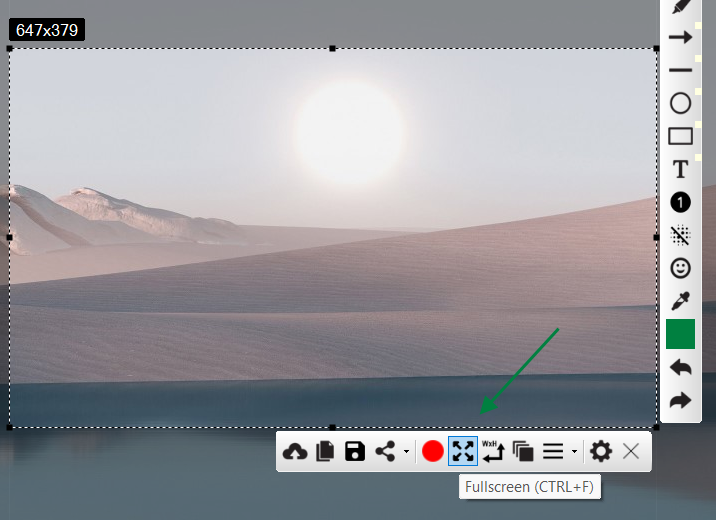
2- Full Screen
When you click the Full-Screen option, it will take a snip of fullscreen as the name already suggests.
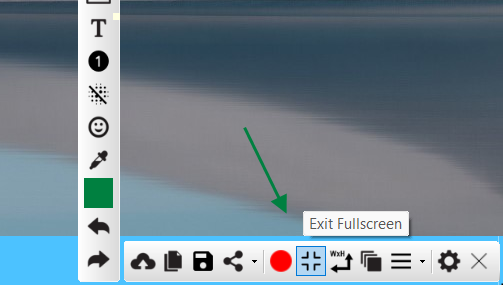
Exit from the Fullscreen view
When you click, Fullscreen, it will now show exit fullscreen button, click that to exit and restore to last snip view.
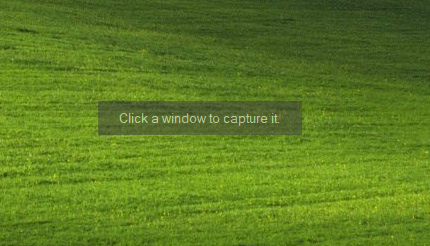
3- Capture Active Window
When you click the Capture Active Window option, it will then ask you to click an active window. When you click a window, it will save it's screenshot and open windows explorer to locate the screenshot for you.
4- Capture Scrolling Window
Capture Scrolling Window is the most advanced feature Free Snipping Tool has to offer to its users. As the name says, you can now capture scrolling areas from anywhere and in any app that is running on your computer.
When you click the Capture Scrolling Window option, it will open another form which looks like below.
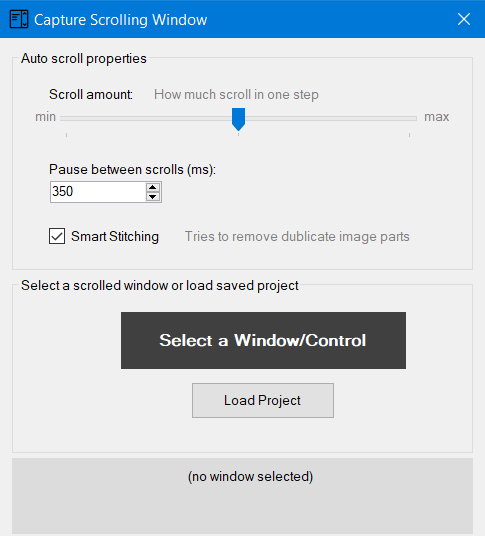
You just need to click Select a Window/Control to start the scrolling capture procedure. As this is an advanced feature, we have discussed it in detail here. Continue reading about Capture Scrolling Window.