With Capture Scrolling Window you can now capture any scrolled areas/windows from any apps running on your computer. You can start Capture Scrolling Window from taskbar options or Snipping Tool ribbon.
How to start?
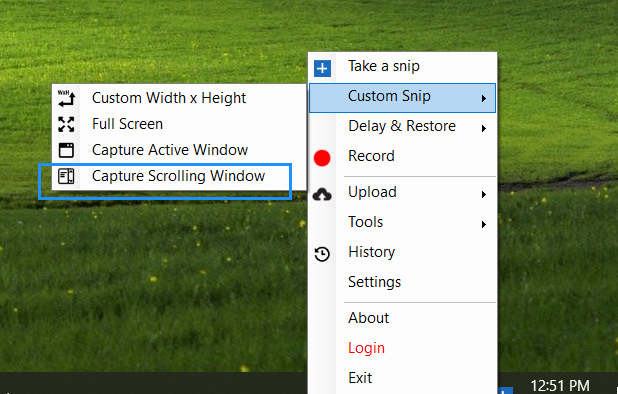
1- From Taskbar options:
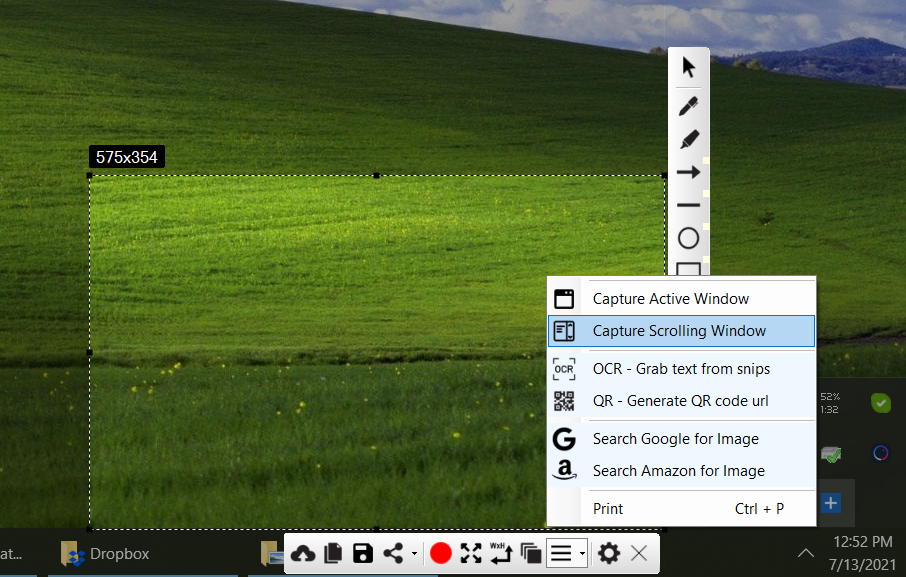
2- From Snipping Tool ribbon:
How it works?
Capture Scrolling Window tries to auto-scroll selected window/areas and take screenshots. There are few options to control the automatic process about which we will discuss below. First, when you click Capture Scrolling Window it will open small windows like this:
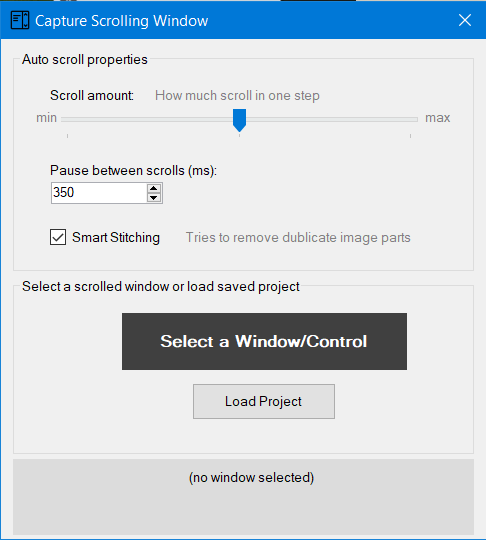
Options:
Scroll amount: This is the amount of area scrolled in one step.
Pause between scrolls: Pause time interval in milliseconds It scrolls -> takes a screenshot of the area -> pause for mentioned milliseconds -> repeat.
Smart stitching: When checked, duplicate parts of different images are removed automatically from the final one scrolled screenshot.
Start Capturing Scrolling Window
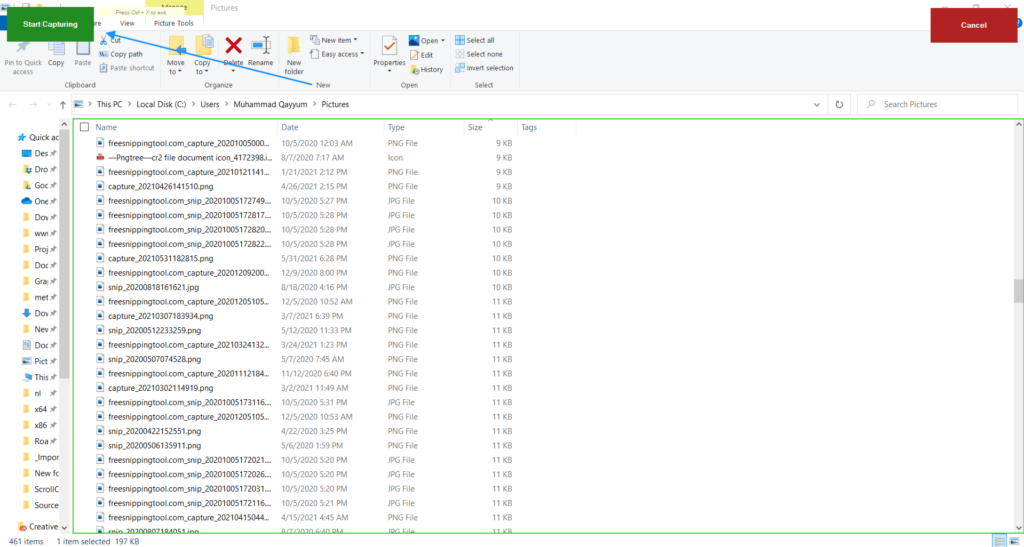
1- Click Select a Window/Contol button, it will present you with a screenshot of the window, where you can select the part which you want to auto-scroll and take screenshots.
2- Click in the center to the desired area and then click Start Capturing button.
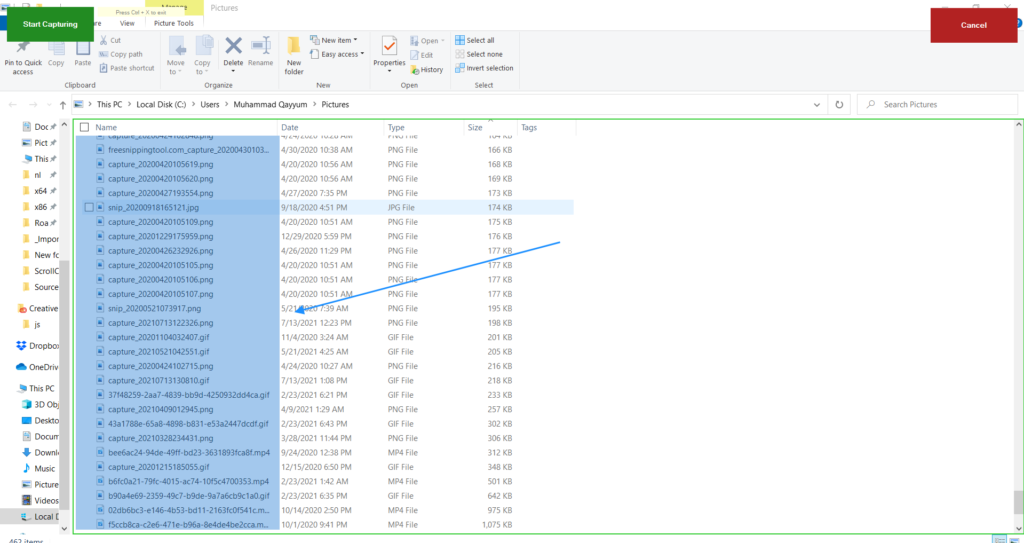
3- You can select the custom area with right click mouse-drag to record in this step before clicking Start Capturing button.
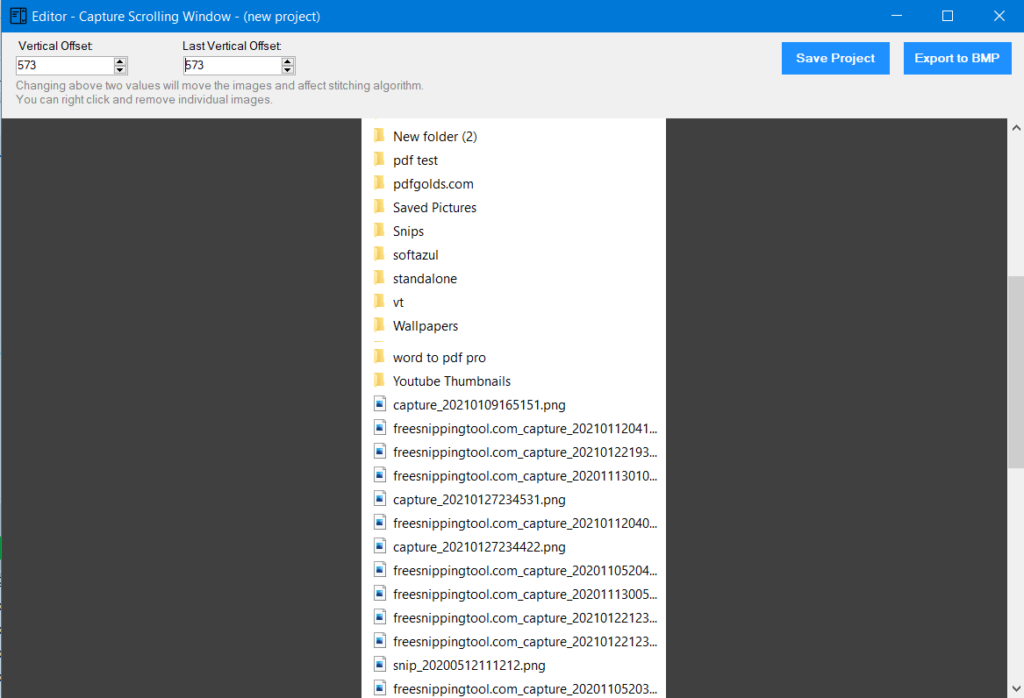
4- Click Start Capturing button. It will now auto-scroll the selected region of the selected window and save screenshots (you will need to stop using your mouse for this to work correctly). At the end, you will see another window to edit the scrolled screenshots. Here you can save it as a project or as an image.