Free Snipping Tool's photo sharing website (ImgHostr) lets you add textual tags on snips that you share and upload. To add tags you will need to create account on ImgHostr and login via Free Snipping Tool using same account. Now when you create and upload snips, login on ImgHostr, you will be able to add tags on them. Follow these simple steps.
Short Steps
- Create Account on ImgHostr
- Login on ImgHostr and Free Snipping Tool with same icon
- Create and upload snip
- Open snip page link
- Add tags
- Save tags
Details
1- Create free account on our photo sharing website (ImgHostr) if you haven't already.
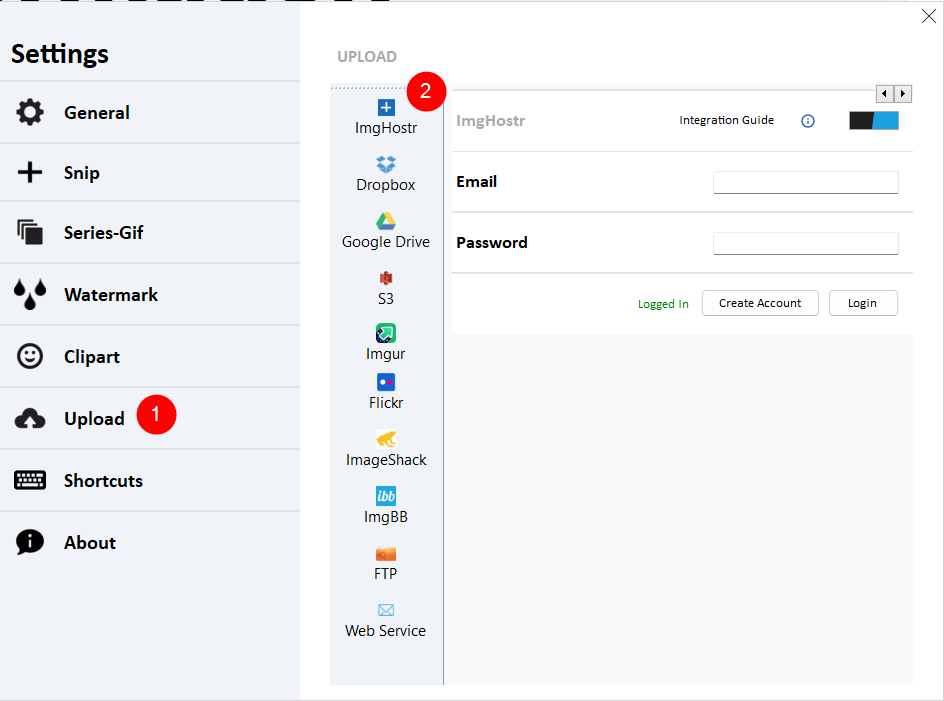
2- Login on Free Snipping Tool with same account you just created via settings as shown in picture.
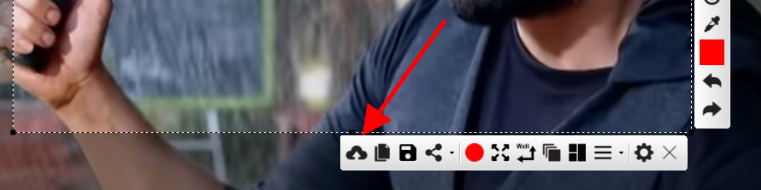
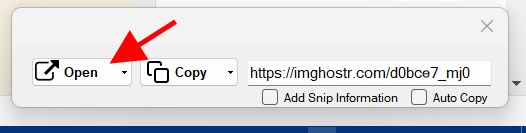
3- Take new snip and upload (with cloud icon on snipping tool), this will give you ImgHostr link as usual, but after logging in this now associates each snip you create with your account on ImgHostr.
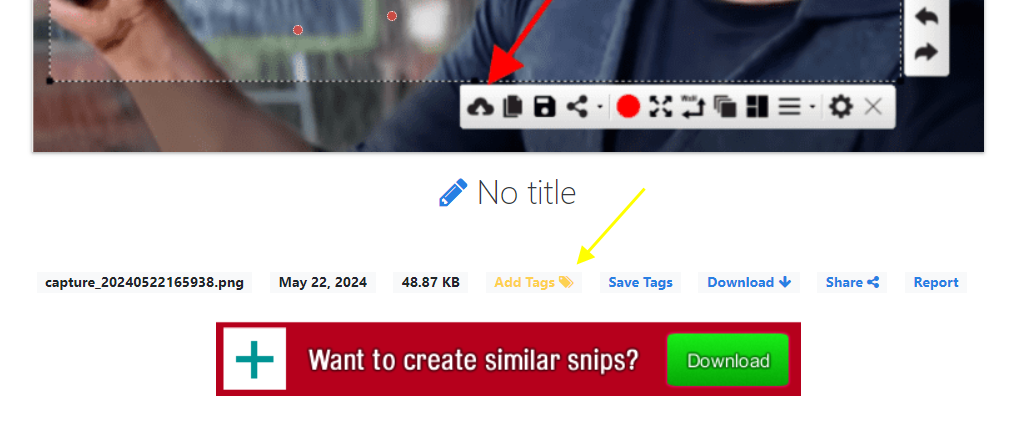
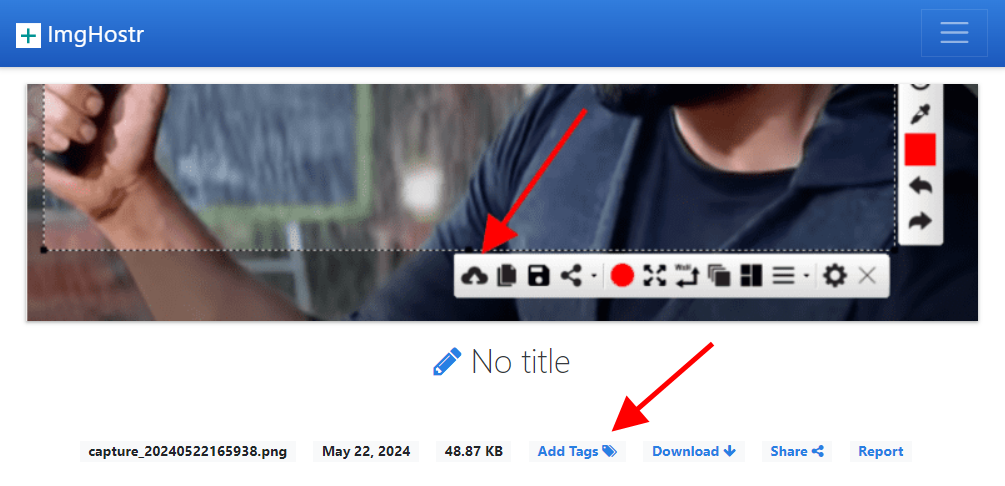
4- Now open ImgHostr link of your snip, (you need to login on imghostr website)
5- Now you can add tags on that snips, just click Add Tags button on the snip page and click anywhere on the image to start adding Tags.
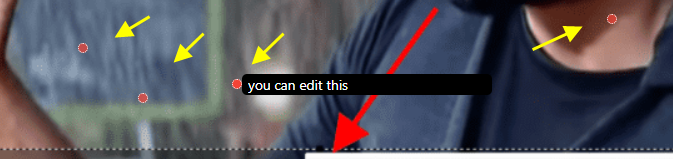
6- Now click Save Tags button to finish adding tags on your snip image. Now when anyone will visit your snip links, they can see tags where you added them on same location on that image,